I enjoy setting goals and of course, achieving them is even more awesome! One of the ways I do this is by creating a vision board to set clear, powerful intentions. This practice has evolved through the years, but typically during January every year, I create/update my vision board as a way to orient myself for the year ahead.
Intention setting is not quite the same as making resolutions. Resolutions can be limiting, and often neglected by the time January is over, whereas an intention sets a plan in place to accomplish something you want. But honestly, if you make resolutions and you find that motivating beyond January 31st…by all means, go for it!
There is something special about a new year, a clean slate, a new opportunity, which is why I update my vision board every January, but throughout the year, I make adjustments when necessary. My vision board is always evolving. I might add to it or shift things around. I choose not to remove what I have accomplished as I like to see it as a reminder. I find this practice works for me, and I can achieve the goals I set for myself.
I learned about vision boards back when I first watched the movie, “The Secret,” so probably in 2007-ish. Jack Canfield made vision boards very popular during this time (same Jack Canfield, who wrote the Chicken Soup books back in the ’90s). A vision board is a visual representation of what your goals/intentions are. It can focus on one goal or domain. What I like to do is set intentions for different domains of my life such as relationships, lifestyle, travel, career, health, and more. Think of it as a life collage. You can be as plain or ornate as you wish with your design. If arts and crafts are not for you, there are apps you can download to create a digital one.
The key is that you place it somewhere; you can view it daily. Mine has always hung in my bedroom, where I can see it every day. Visualization is an important tool to use when achieving your goals. The constant visual reminder is a great motivator!
I have been making vision boards for many years, but I feel that over the past four years or so, I have perfected the process. Keep in mind that this is how I like to do it; it can be done much simpler or even more ornate. I like to incorporate my creative side into my vision board.

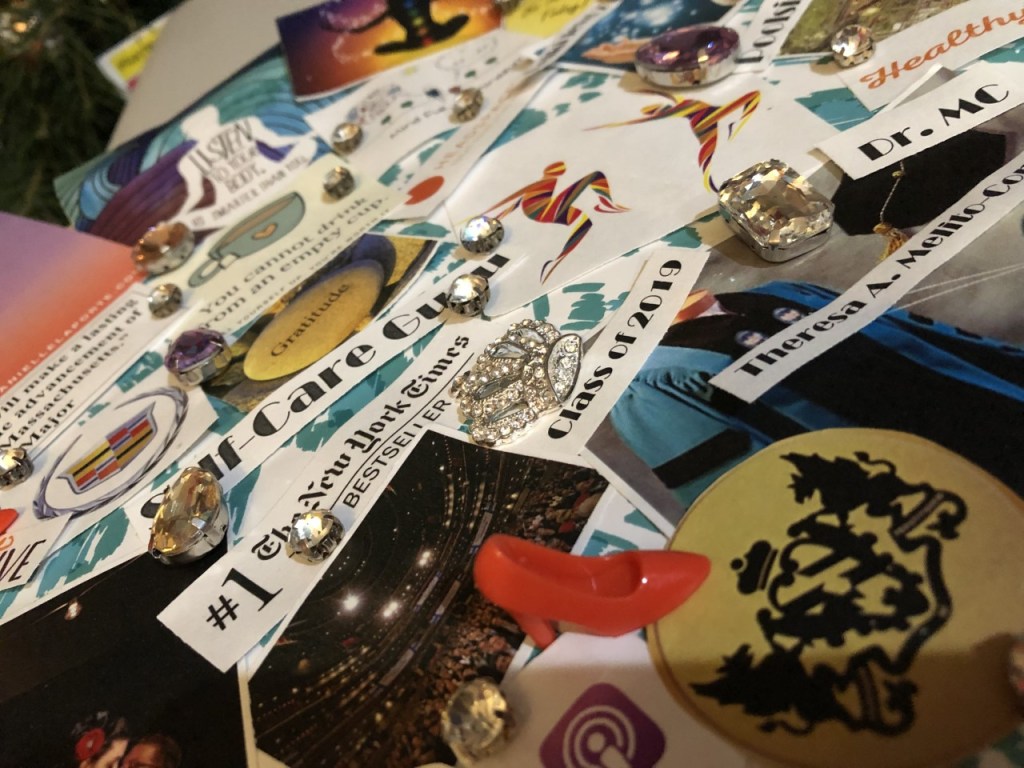
My Vision Board
To some, my vision board might be sensory overload and I think in 2021, I may need a bigger board, but for now, this works for me. It is organized generally by domains; the top is more overall health and wellness goals such as meditate more, move (dance), and attracting abundance. The left side is relationships and family. The bottom left corner is about lifestyle and places I would like to visit (yes, that is a picture of Lin Manuel Miranda and Hugh Jackman, both of which I would like to meet during my next trip to NYC). The middle area pertains to my career goals of both my day job and what I would like to achieve with the Self-Care Cabaret. If you look closely, you will see “Blog” on there…looks like I have already achieved one goal for the year. This year I added some reminders about Intuitive Eating which is a goal of mine to work on those skills. Additionally, there are some home improvement goals.
Ready to make your own?
6 Easy Steps to Create Your Vision Board

Step 1: Get a bulletin board – it can be any size you want, mine is 24 x 17, and it was $14 on Amazon. It does not have to be a bulletin board; it can be a poster board if you prefer. I like the ability to move things around and add to it, so a bulletin board gives me that flexibility.
Step 2: Start gathering images – this can be done in a variety of ways, from cutting them from magazines, looking through photographs, or just obtaining images from the internet. I prefer to print what I find online. That way, I can get exactly what I want. I also like to add words, quotes, and cards from some of my various self-care decks. You can also draw/paint images.
Step 3: Cover the bulletin board cork section in a fun wrapping paper. This step is optional, but I like to cover my boards with a fun wrapping paper (see Tiffany Blue leopard print covered board in image above). Fabric also works. All you need is a stapler and scissors to transform a boring bulletin board into a colorful surface.
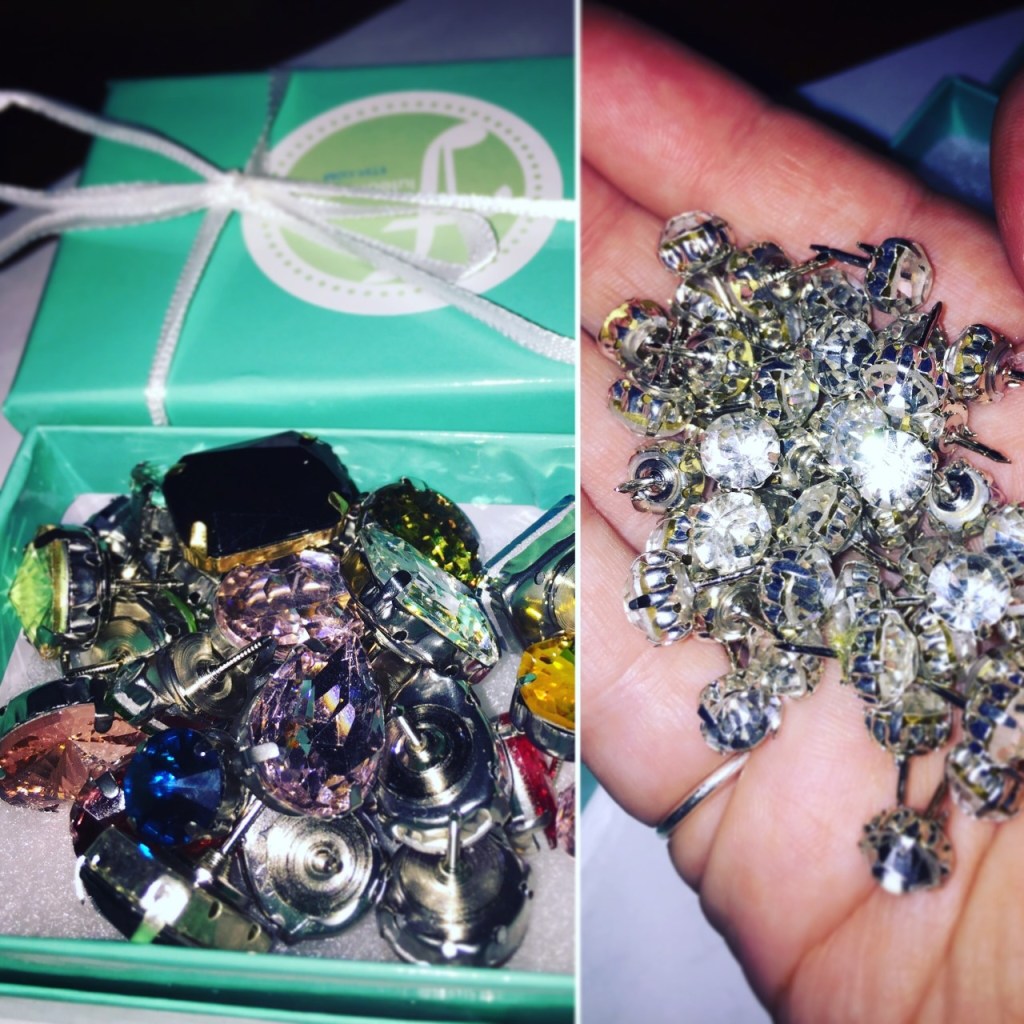
Step 4: Get some fun, pushpins! Why not? Not necessary, but I like to use novelty pushpins (shoes, crowns, jewels, roses, pearls, etc.). Amazon and Etsy can help you out here. Please note that traditional pushpins work just fine too.

Step 5: Start organizing your images into your domains and pin them to the board how you see fit! I don’t mind images overlapping and/or hanging off the edge. I use a small piece of tape to secure the images that hang off the side of the board.
Step 6: Hang it up! Mine is up with command picture hanging strips (for easy removal and updating), and that’s it!
If you make one, please share the pictures with me! I would love to see what you create and happy intention setting!
Best,
Dr. MC